Thursday, August 25, 2011

DIY Drum Lamp Diffuser


We didn't have an overhead light in our guest room, which made it really dark. We don't have a way to hard wire it to the ceiling because the air conditioning vent is smack-dab in the middle of the room. My solution was to get a lamp kit and hang it from the ceiling, run the wire across the ceiling and down the wall and plug it in. Then I got a cute drum lamp shade to hang on it. You can find something similar here. The kit had a screw top that allowed me to just screw the drum pendant in and voila! The only problem was that when you were on the guest bed, you could see straight up the middle of the drum shade into the blinding light.

I forgot to take a picture of it before I took it down, so this picture is actually from Young House love, because we happened to have the same shade from the Shades of Light outlet store here in Richmond. This is more or less what you saw from my guest bed, except mine is not hard wired but hanging from the ceiling on a hook.


I didn't want to spend the money on the diffuser, so I decided to make my own, a la Young House Love's tutorial!


I found an old sheet that had a rip in in, and draped it over the drum shade, cutting around the edges until I had a circle slightly larger than the shade.


Here it is cut out and draped before I ironed it out to make it nice and smooth.


Then I removed the banding from around the shade on the bottom. It pulled right off like a charm!


Then I ran a bead of craft glue all along the bottom edge where the hommade diffuser would go:


I smoothed out the large circle and then flopped the drum pendant over so that the bottom edge with the glue on it was touching the fabric and waited for it to dry.

In case you can't tell, this is a shot of the inside of the bottom of the shade with the bead of glue showing.


Once it dried, I flipped it back over (yes, it stuck a little bit to the table, oops), and trimmed the edges very close to the shade, with about 1/4 inch overhang.

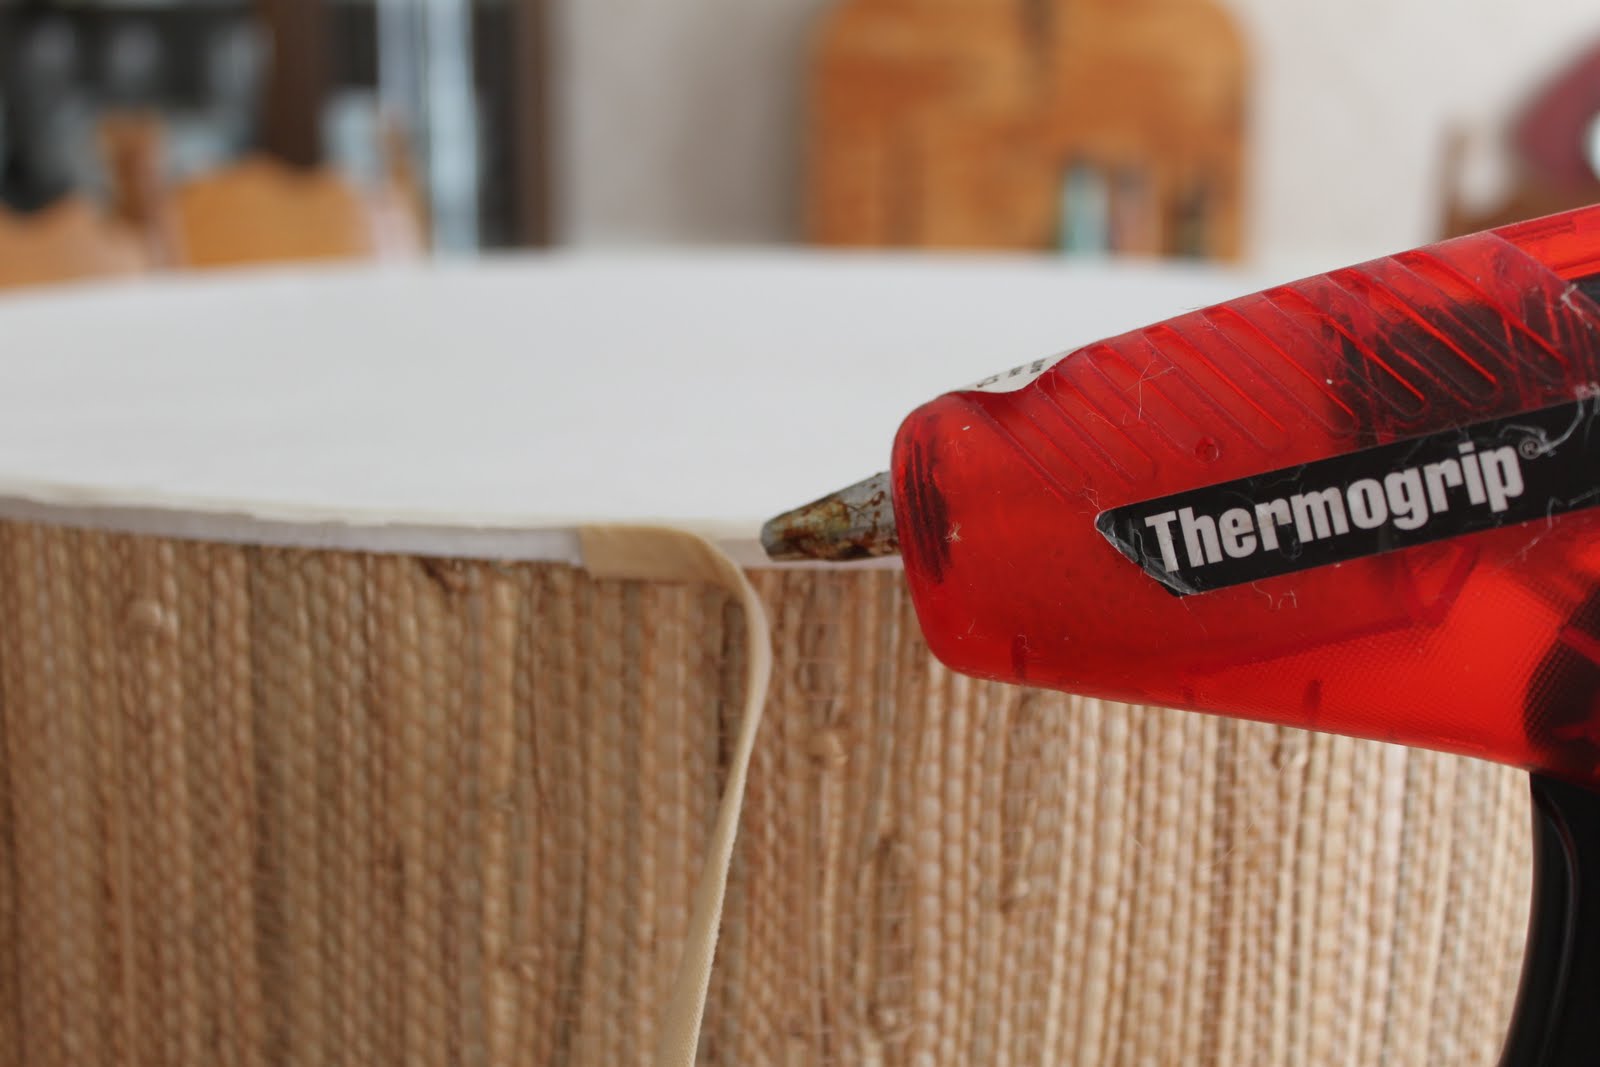
Then I reapplied the edge banding to cover the jagged edges of the sheet and make it look nice and neat. I used hot glue for this one. And burned my fingers about a million times until my friend Anne offered to take the gun off my hands while I worked the edges of the sheet under the banding.


Here it is all hung up on the ceiling again, and our guests will no longer be blinded as they read before bed! I know the cord looks kind of crappy going along the ceiling, but you can see in this picture how putting in a box for a hardwired lamp would be tricky in this room because of the way the HVAC is situated. We are going to pain the walls and then hopefully the cord cover will blend in at least on the wall behind the bed.


So the guest room is still a work in progress, but I thought I would share this little project. :-) Since that picture was taken, we have rearranged quite a bit between switching out the beds and moving all the books in the house. Maybe one day it will be all done and I can do a beauty shot!

Thanks to Sherry and John for the great idea!


Monday, August 22, 2011

Operation Bookshelf Complete!

As I mentioned previously, we really needed bookshelves to corral all of the crazy books all over our house. We went back and forth over building them ourselves from premade cabinets, building them from a plan from Knock off Wood, buying unfinished ones from the Unfinished Furniture Mart, or going to Ikea. Then once we decided on Ikea it was another whole story to try to figure out which shelves we wanted. Billy is very popular and the cheapest, but didn't really fit our needs. We loved Liatorp, but it was too expensive. We eventually decided on Hemnes, and got 5 units--three without doors and two with glass doors. The measurements fit almost exactly all the way across the wall in the living room.

So off to Ikea we went...


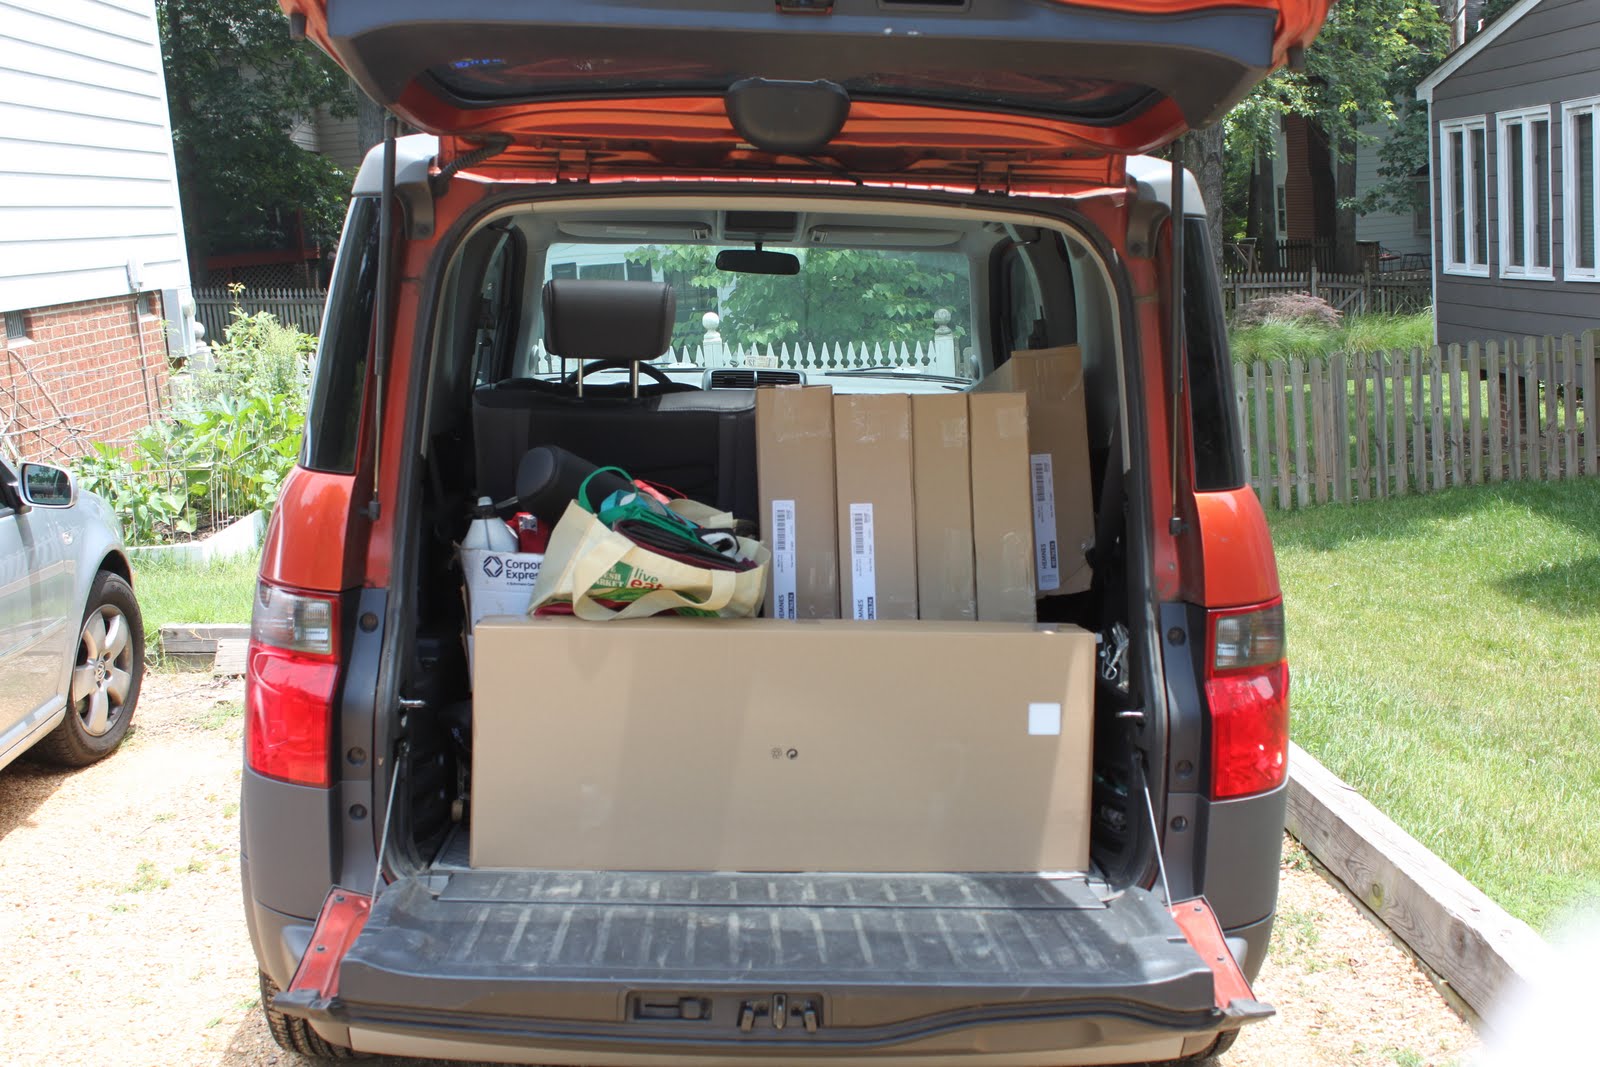
Here is the Element in our driveway, showing the amazing flat packaging skills of the Ikea folks. Yes we fit 5 bookshelves into our car!


Here is refresher of the wall the shelves were destined for. The formal living room in our house has been kind of a repository for hand-me-down furniture, art, books, yard sale organizing, whatever--but it is a beautiful room with crown molding and we wanted to turn it into a library.


So Brett and I unloaded the Element and started a kind of assembly line. I am not in any of these pictures, but it was my job to take the shelves out the box, assemble the frame and legs, pass it onto brett and start over with the next one. It was Brett's job to nail on the back, sit the unit upright, position it on the wall and secure it to a stud.


Here is another in-progress shot from the other angle.


After several hours, we had all 5 units assembled and then it was time to put on the doors. We decided to rotate "no doors" with "doors" across the wall for a balanced and symmetrical look that had some visual interest.


We are eventually going to frost the bottom half of the doors so that we can put no-so-pretty things in them like extra serving platters, and then use the top of those to display items and art so that we won't have to dust them.


Here is the finished product! You can literally see that the light was fading by the time we were done...it was surprisingly exhausting! We are so happy with the finished product because it gives us the storage we need and brings out the white crown molding in the room nicely.


So far we have collected all of those random books from around the house and dumped them in just to get them out of the way, but we haven't organized or arranged anything. It is sooo great to have them all in one place and to be able to get some of those shelves out of the way. Like the one in the dining room where the space could be much better used by a console or wine rack!


Has anyone else gotten wall-to-wall bookshelves?? Or are we the only bibliophiles around who can't seem to let go??


Sunday, August 21, 2011

Why We Needed Bookshelves

So we finally went ahead with the planned wall-to-wall bookshelf project! But before I unveil the results, I want to show you WHY it was so necessary. This is embarassing. Please don't call the producers of Hoarders...

We had books in the guest room next to the bed,


and in the guest room against another wall,


and in the art room (I couldn't even really get to these!),


and in the office,


and next to our bed,

and on the landing at the top of the stairs,

and in the dining room,


and next to the tv in the den,


and finally in the living room!
The living room is now the home of ALL the books, which is super useful when someone says "Charlotte, can I borrow that one book about that one thing that you keep raving about?" because I no longer have to scrounge around the whole house and run up and down the stairs to find said book.


whew.


please don't call Hoarders...

Saturday, July 30, 2011

Hot Weekend in Brooklyn

A toasty (100 degrees plus) weekend in Brooklyn, in pictures...

I loved all of the beautiful ironwork on the brownstones.


Brett looking REALLY thrilled to be drinking iced coffee and heading to the Brooklyn Flea. I was thrilled for reals.


The following are things I would have brought home, if I were not taking the subway and the train back to Virginia:


One gigantic metal squirrel. LOVE. We toyed with the idea of this being a weathervane, but decided it did not have the cardinal directions on it so it must just be a giant metal squirrel.


Prettiest old window ever. I would have put screen on the back and used it to display my earrings. OR just hung it somewhere as decoration on a wall.


I took this picture because of the HUGE sawblade, which is amazing. But on reflection, that old phone is pretty cool too.


What I actualy did bring home was 2 "Giant African Porcupine Quills" for my hair of course. And in case I needed a weapon.


Then we had ridiculus Venezuelan food at Caracas Arepas in Williamsburg. Yes we went all the way over there just for this restaurant and yes it was worth it.


Frankly I was a little bit afraid that Brett was going to leave me for whoever made these little balls of heaven: yo-yos. They are fried dough balls with fried plantains and cheese in them. Then you dunk them in molassas. Mmmmm and I had fresh watermelon juice.


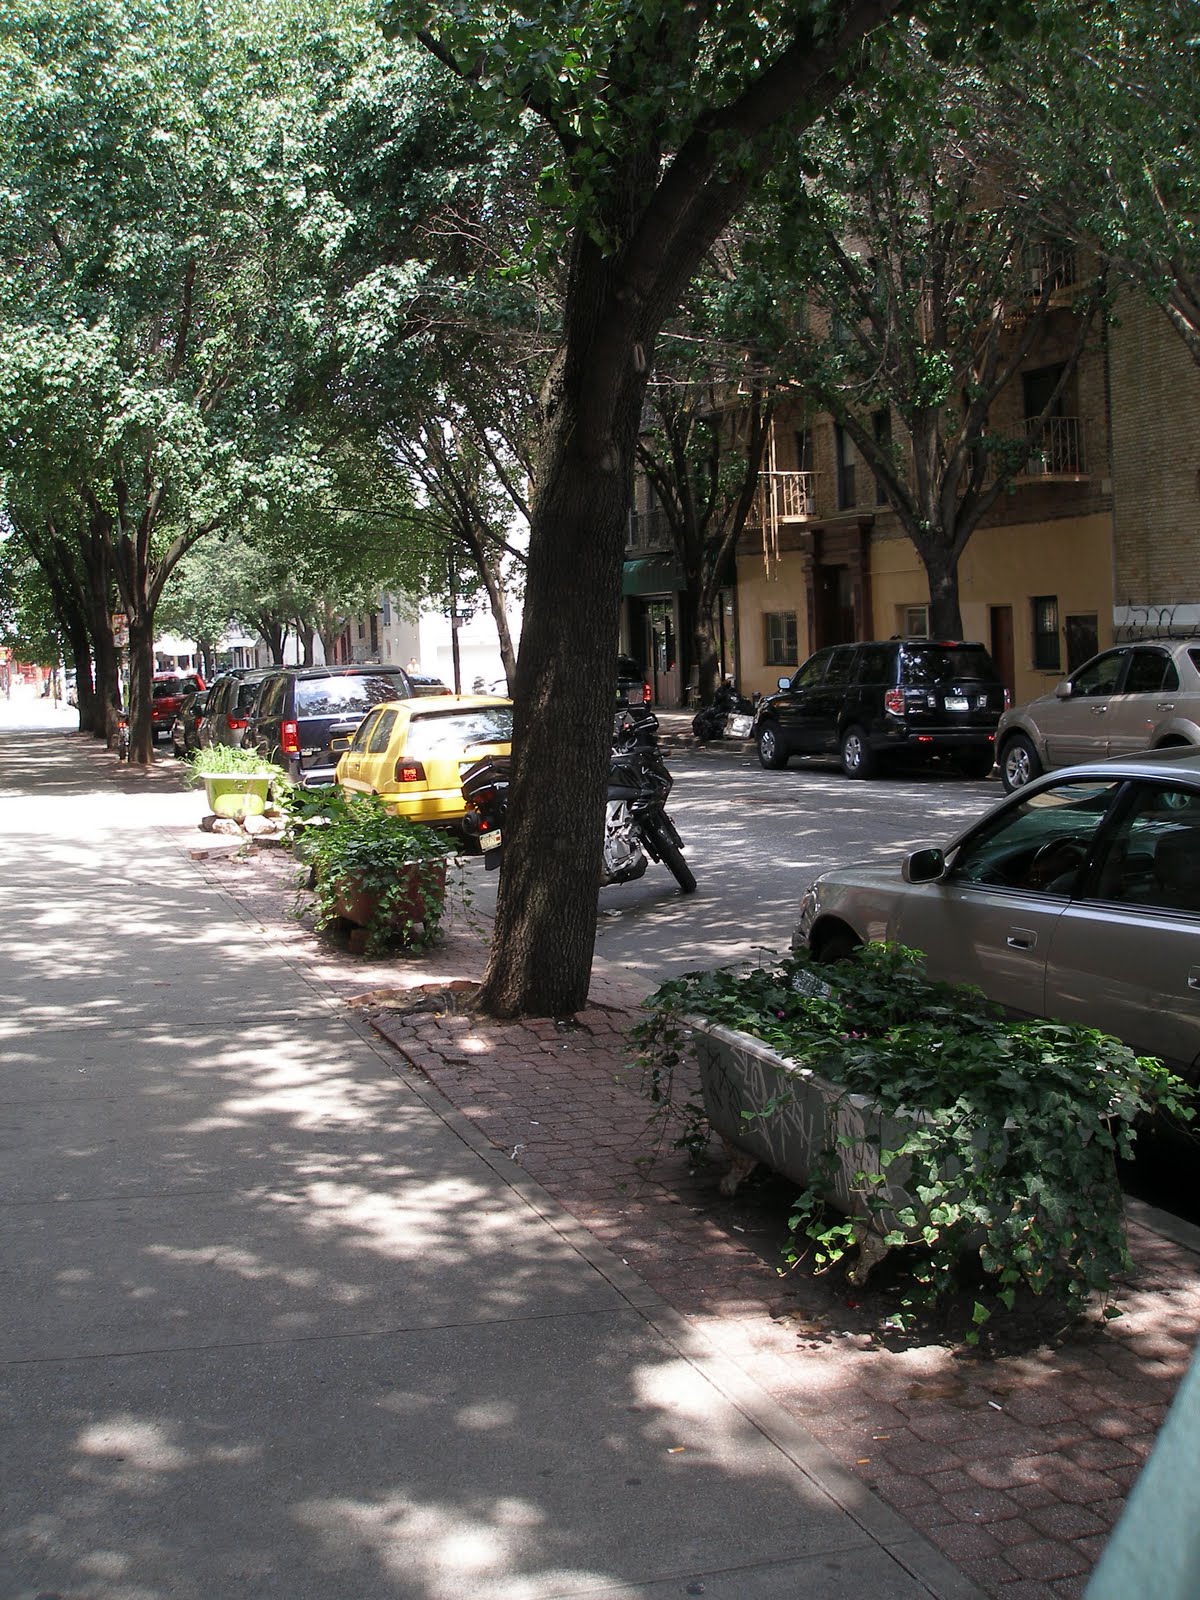
This baby is an arepa. They are shells of polena (or cornmeal, or whatever you want to call it) around delicious fillings. Mine was avacado, white cheese, and plantain. Brett's was pork. The sauce on the side was some kind of guava sauce that tasted like a cross between a curry, a mustard, and a chutney. And just for shits and giggles, here is a shot of the sidewalk bathtub flowerbeds. :-D


Have a great Sunday! Tomorrow we are off to Maine...

Tuesday, July 5, 2011

Third Anniversary


Happy Anniversary B! I love you, and can't believe all that we have done in these 3 short years. xoxo Charlotte

Tuesday, June 28, 2011

Ongoing projects goal--MET!

Well, we decided to go ahead with the bookshelf project, AND I GOT 12 of the PROJECTS DONE!!! That was pretty darn close to my goal of 13, no?

1. Replace overhead fixture in art/spare room.
2. Finish painting art/spare room.
3. Finish painting guest room.
4. Add homemade diffuser to bottom of drum shade a la here.
5. Sew cute dog crate cover.
6. Sew waterproof covers for outdoor furniture
7. Make unflattering Forever 21 dress into pretty skirt
8. Finish blanket for project linus
9. Finish chocolate brown crocheted pillow cover I blogged about
10. Turn all of my stretchy crew neck gap tshirts into Vnecks
11. Totally redo shoe storage
12. Revamp weird hexagonal lamp/table from For the Love of Jesus Thrift
13. Buy new knobs for my bathroom
14. Turn huge candle from TJ Maxx into pretty wooden fruit bowl
15. Revamp necklace storage
16. Make wedding shadowbox
17. Restore antique pew
18. Add handle to freestanding Ikea Pax pantry for laundry room
19. Replace hideous kitchen cabinet hardware
20. Attach legs and casters to storage ottomans to fit under our trestle table
21. Add magnetic closure to antique vanity drawer
22. Reupholster vanity bench
23. Finish subway art
24. Turn large body painting into tryptich.
25. Turn brass sections of Nana's navy lamps silver.


You guys have already seen the dog crate cover and the necklace holder, but I have a lot more to blog about now! I crossed off a couple of them, even though the project kind of morphed. For instance, I got the brass parts of the lamps covered, but am totally not satisfied with the look. So the project is technically "done" per my earlier goal, but to B's dissatisfaction it is still taking up the dining room table because I don't like how it turned out. More about that later.

I didn't add the casters to the ottomans...but I did buy decorative upholstery nails to add to them as well...so that project got bigger instead of done.

Also, I didn't exactly add magnetic closure to the vanity drawer...instead, I had my dad take a look at it and he said adding the closure might decrease the value of the antique. So instead he removed some little stop blocks someone had added to the inside of the drawer along its life, and greased up the current hardware, and it works like a charm.

ANYWAY...The BOOKSHELVES LOOK AMAZING!!! We went with Hemnes from Ikea, three without doors and two with, and they fit perfectly along the wall. We haven't "styled" them yet, but I am just so happy that there are no longer books EVERYWHERE.

Sorry no pictures today, but I promise some juicy ones soon.

xoxo

Charlotte