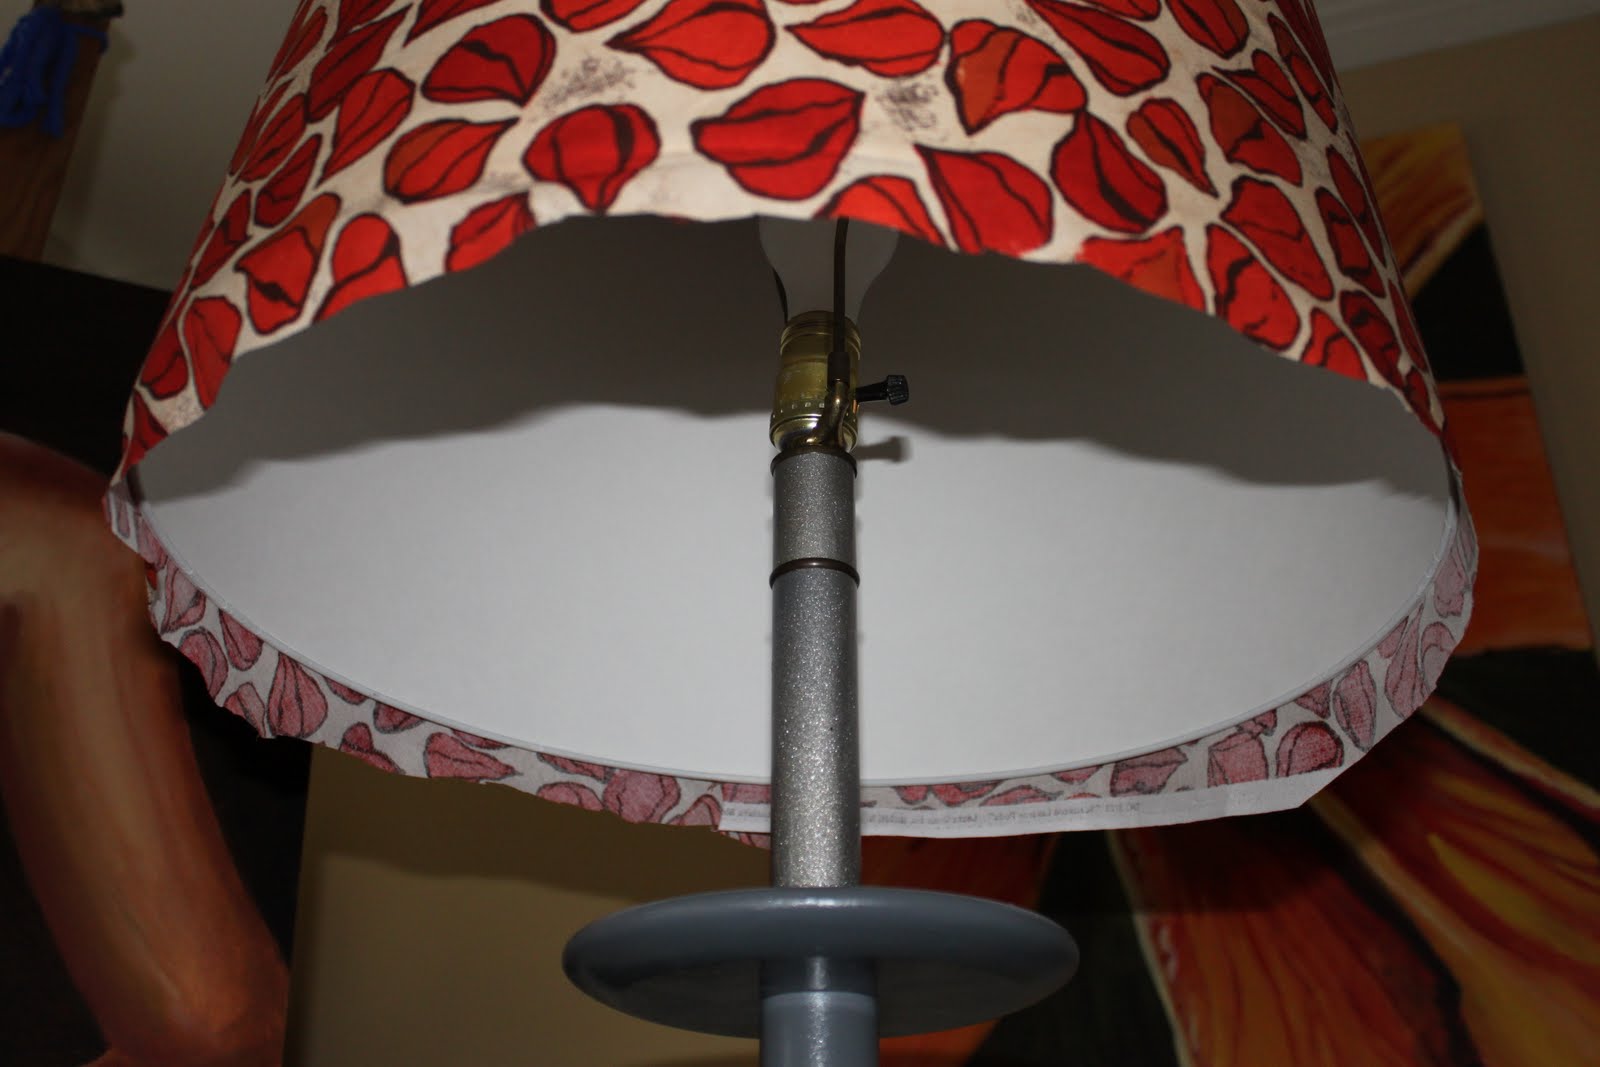
The shade it came with was just the wrong size and shape so I picked up a pretty new one at the Decorating Outlet (outlet store for Shades of Light) that had a little dent in it. And I picked up this fabric I have loved forever. It has a beautiful chinese lantern plant pattern on it that was NOT linear since the shade I picked had a slight flare rather than a straight drum.
Showing posts with label DIY. Show all posts
Tuesday, September 13, 2011
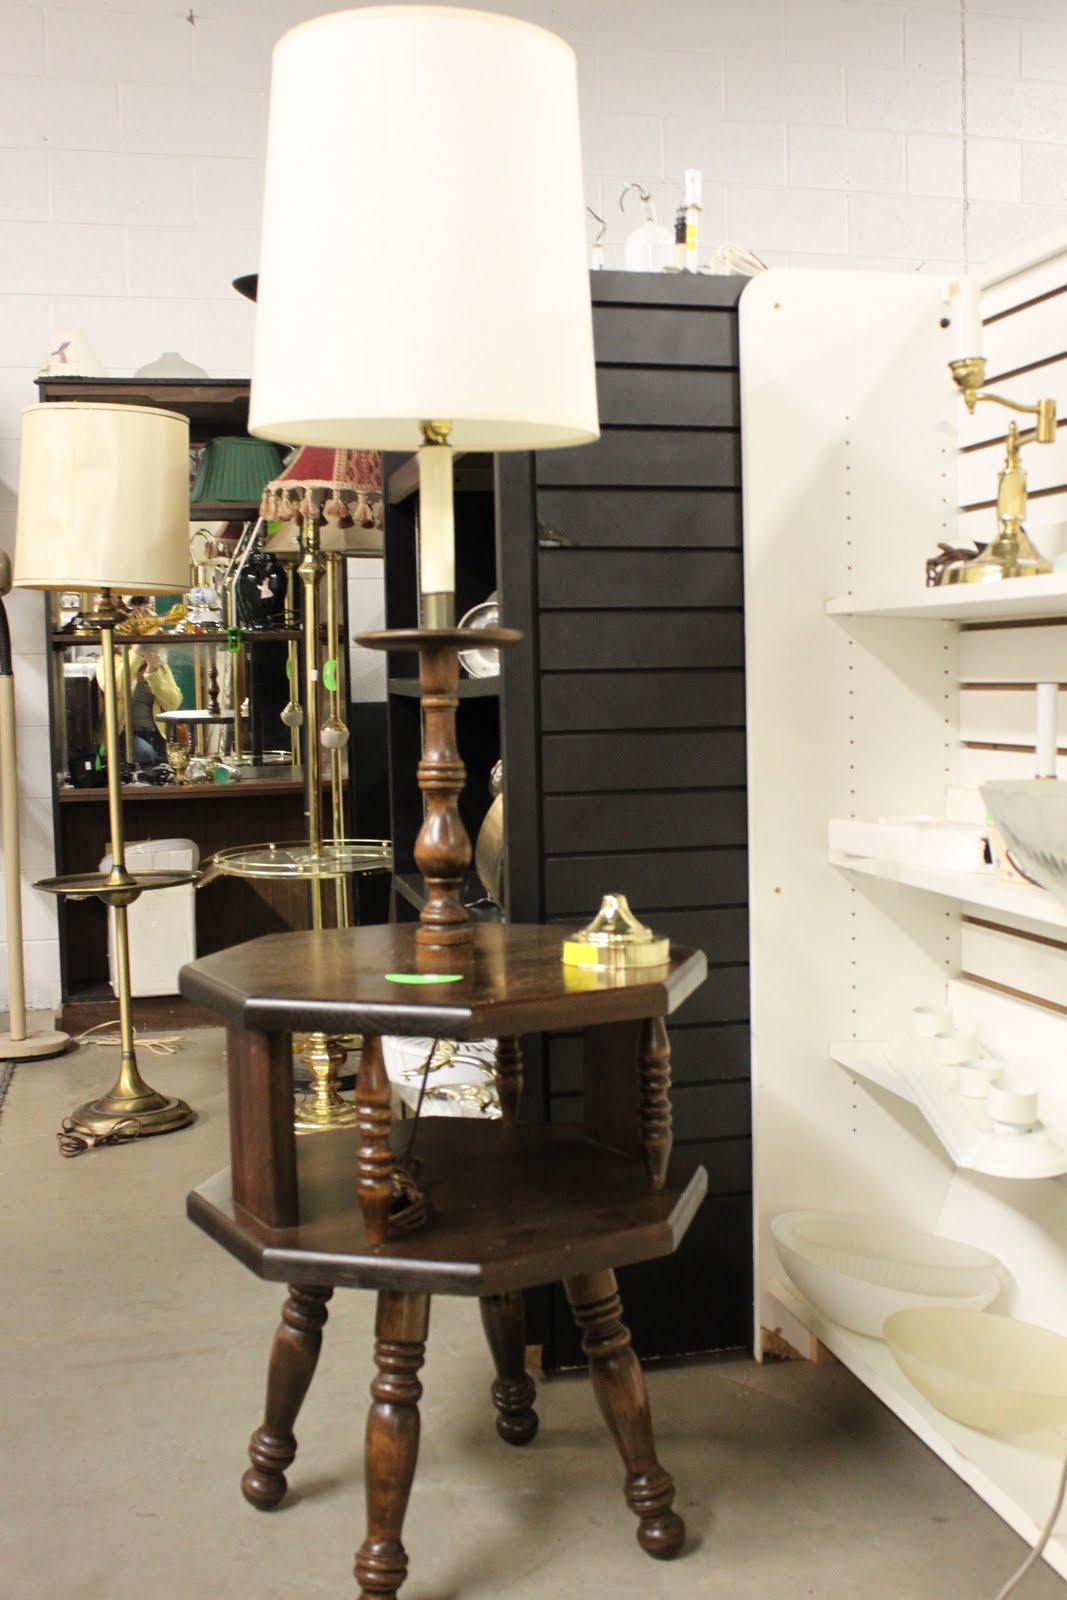
Thrifted lamp/table hybrid rescue
The shade it came with was just the wrong size and shape so I picked up a pretty new one at the Decorating Outlet (outlet store for Shades of Light) that had a little dent in it. And I picked up this fabric I have loved forever. It has a beautiful chinese lantern plant pattern on it that was NOT linear since the shade I picked had a slight flare rather than a straight drum.
Monday, August 29, 2011
Hanging Plate Wall
You may remember this post I did a while ago for my friend Meghan who wanted to do a hanging plate wall in her dining room. Well we finally did it!
First we went in search of an instant plate collection: enter Love of Jesus Thrift Store. Its really the largest thrift store in the area, especially if you want home goods or furniture. Plus it has an awesome name!
Meghan's wall is a really intense color, so we decided on a collection of white plates in different textures, shapes, and designs. Below you can see the ridiculous amount of plates to choose from. (btw you can also have an instant collection of brass candlesticks, baskets, bells, and other randomness if you so desire.)
Here is a smiling Meghan with some of her bounty:
Then we went back to her place and traced the plates onto paper so we could see how the various sizes and shapes would look together on the wall without making a million holes in her honest-to-god real plaster walls. This is just one of the design ideas we played with.
First we went in search of an instant plate collection: enter Love of Jesus Thrift Store. Its really the largest thrift store in the area, especially if you want home goods or furniture. Plus it has an awesome name!
Here is a smiling Meghan with some of her bounty:
Thursday, August 25, 2011
DIY Drum Lamp Diffuser
We didn't have an overhead light in our guest room, which made it really dark. We don't have a way to hard wire it to the ceiling because the air conditioning vent is smack-dab in the middle of the room. My solution was to get a lamp kit and hang it from the ceiling, run the wire across the ceiling and down the wall and plug it in. Then I got a cute drum lamp shade to hang on it. You can find something similar here. The kit had a screw top that allowed me to just screw the drum pendant in and voila! The only problem was that when you were on the guest bed, you could see straight up the middle of the drum shade into the blinding light.
I forgot to take a picture of it before I took it down, so this picture is actually from Young House love, because we happened to have the same shade from the Shades of Light outlet store here in Richmond. This is more or less what you saw from my guest bed, except mine is not hard wired but hanging from the ceiling on a hook.
I didn't want to spend the money on the diffuser, so I decided to make my own, a la Young House Love's tutorial!
I found an old sheet that had a rip in in, and draped it over the drum shade, cutting around the edges until I had a circle slightly larger than the shade.
Here it is cut out and draped before I ironed it out to make it nice and smooth.
Then I removed the banding from around the shade on the bottom. It pulled right off like a charm!
Then I ran a bead of craft glue all along the bottom edge where the hommade diffuser would go:
I smoothed out the large circle and then flopped the drum pendant over so that the bottom edge with the glue on it was touching the fabric and waited for it to dry.
In case you can't tell, this is a shot of the inside of the bottom of the shade with the bead of glue showing.
Once it dried, I flipped it back over (yes, it stuck a little bit to the table, oops), and trimmed the edges very close to the shade, with about 1/4 inch overhang.
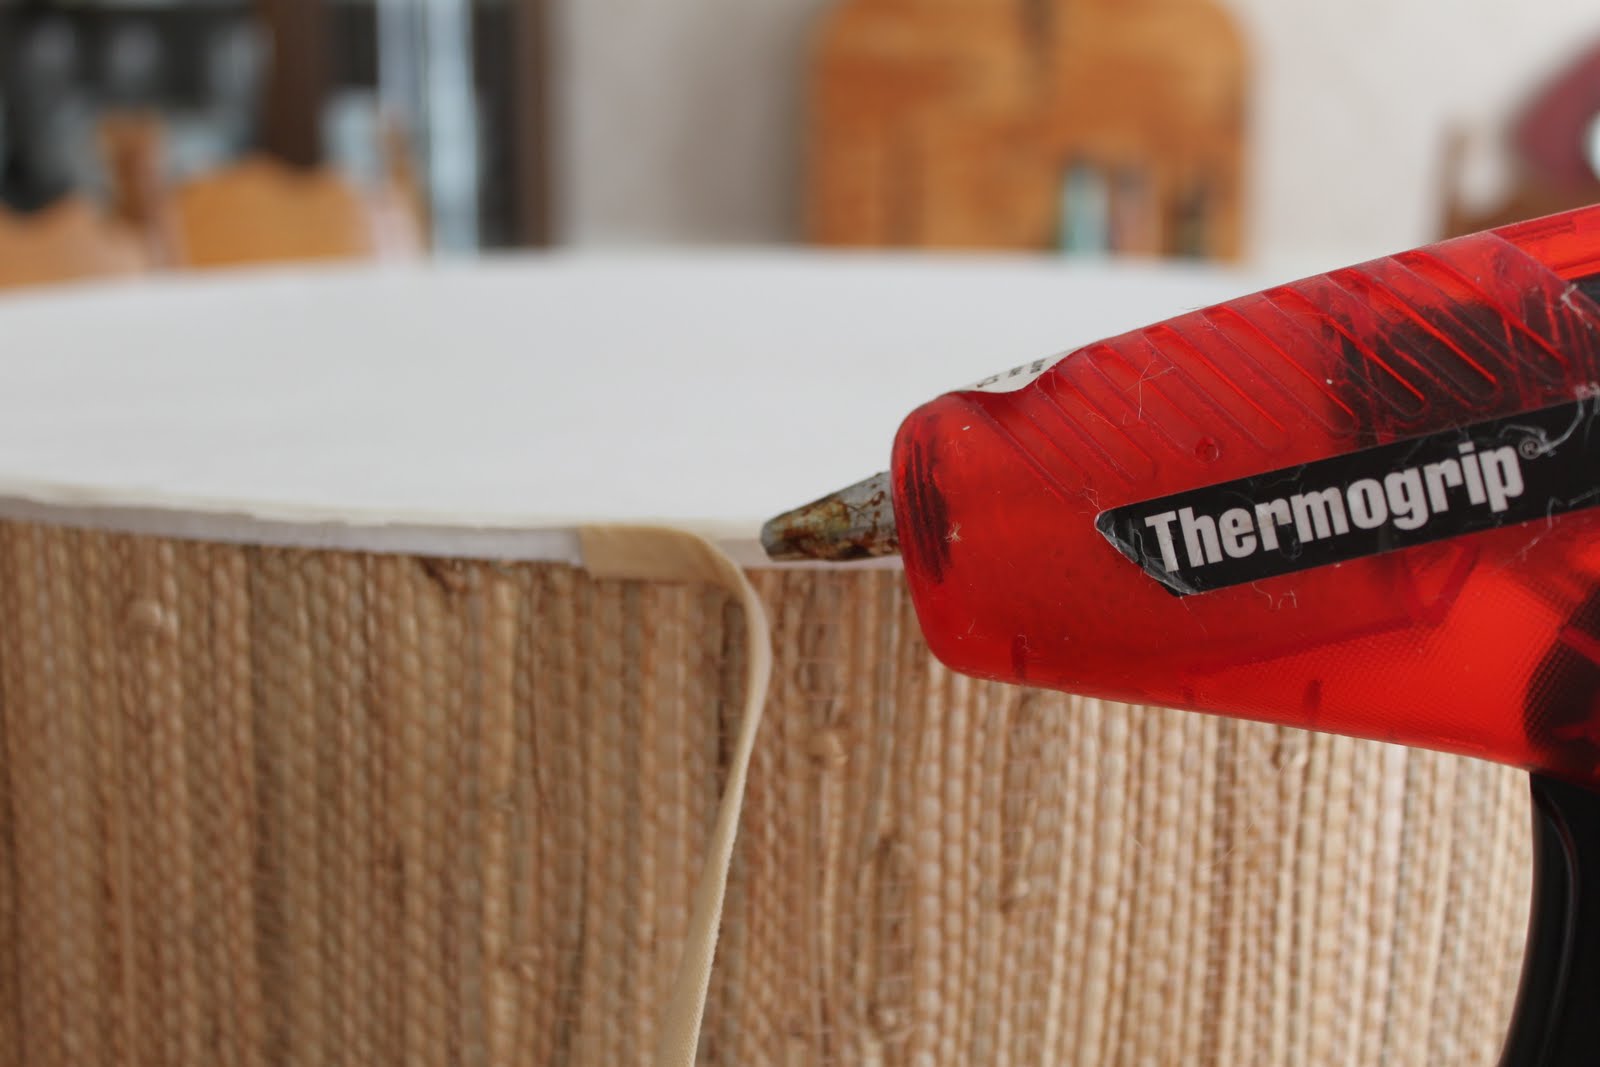
Then I reapplied the edge banding to cover the jagged edges of the sheet and make it look nice and neat. I used hot glue for this one. And burned my fingers about a million times until my friend Anne offered to take the gun off my hands while I worked the edges of the sheet under the banding.
Here it is all hung up on the ceiling again, and our guests will no longer be blinded as they read before bed! I know the cord looks kind of crappy going along the ceiling, but you can see in this picture how putting in a box for a hardwired lamp would be tricky in this room because of the way the HVAC is situated. We are going to pain the walls and then hopefully the cord cover will blend in at least on the wall behind the bed.
So the guest room is still a work in progress, but I thought I would share this little project. :-) Since that picture was taken, we have rearranged quite a bit between switching out the beds and moving all the books in the house. Maybe one day it will be all done and I can do a beauty shot!
Thanks to Sherry and John for the great idea!
In case you can't tell, this is a shot of the inside of the bottom of the shade with the bead of glue showing.
Once it dried, I flipped it back over (yes, it stuck a little bit to the table, oops), and trimmed the edges very close to the shade, with about 1/4 inch overhang.
Then I reapplied the edge banding to cover the jagged edges of the sheet and make it look nice and neat. I used hot glue for this one. And burned my fingers about a million times until my friend Anne offered to take the gun off my hands while I worked the edges of the sheet under the banding.
Here it is all hung up on the ceiling again, and our guests will no longer be blinded as they read before bed! I know the cord looks kind of crappy going along the ceiling, but you can see in this picture how putting in a box for a hardwired lamp would be tricky in this room because of the way the HVAC is situated. We are going to pain the walls and then hopefully the cord cover will blend in at least on the wall behind the bed.
So the guest room is still a work in progress, but I thought I would share this little project. :-) Since that picture was taken, we have rearranged quite a bit between switching out the beds and moving all the books in the house. Maybe one day it will be all done and I can do a beauty shot!
Thanks to Sherry and John for the great idea!
Wednesday, June 15, 2011
One Point for Organization: Coarkboard Necklace Display
Tuesday, June 14, 2011
Dog Crate Cover for Mack
Allow me to introduce you again to Mack, our rescue dachsund/border collie/who knows what sweetie. He sleeps in a crate in our room at night, and loves it to be covered with blankets like his personal little cave. It kind of reminds me of when you were little and wanted a fort under the kitchen table.

Here is a "before" photo of his crate with blankets draped over it per his liking. HOWEVER, not to my liking! I think it looked so sloppy and we needed our blankets back. (Don't worry, he normally has a pillow in there to sleep in, it was just in the wash when I took these pictures.)


I picked out this really cute, thick black and white dog-print fabric from our local fabric outlet U-fab, and went to town with the sewing machine.

I measured the back, sides, and top of the crate, and leaving a 1/2 inch seam allowance all the way around, I pieced it together and pinned it right-sides together.

Here you can see it partially done, with the back and top sewed together and one side pinned on.


Then I hemmed all the way around the edges...

I'm pretty sure he doesn't know the difference but I think it looks so much cleaner. The basket on the top is where we store his and Lolly's treats, brushes, etc. She sleeps on a dog bed on the floor (not so much of a fan of the crate as her brother!)
It was super easy! Let me know if anybody wants one as a christmas gift!
Here is a "before" photo of his crate with blankets draped over it per his liking. HOWEVER, not to my liking! I think it looked so sloppy and we needed our blankets back. (Don't worry, he normally has a pillow in there to sleep in, it was just in the wash when I took these pictures.)
So I decided to sew something nice and tailored to cover it up in a little bit of neater fashion. Voila the finished product:
I picked out this really cute, thick black and white dog-print fabric from our local fabric outlet U-fab, and went to town with the sewing machine.
I measured the back, sides, and top of the crate, and leaving a 1/2 inch seam allowance all the way around, I pieced it together and pinned it right-sides together.
Here you can see it partially done, with the back and top sewed together and one side pinned on.
And here is the almost-finished product: at that point I just had to sew it into a 3D shape. I left off the front so he could see out.
Then I hemmed all the way around the edges...
I'm pretty sure he doesn't know the difference but I think it looks so much cleaner. The basket on the top is where we store his and Lolly's treats, brushes, etc. She sleeps on a dog bed on the floor (not so much of a fan of the crate as her brother!)
It was super easy! Let me know if anybody wants one as a christmas gift!
xoxo
Charlotte
Thursday, June 9, 2011
Vanity Bench Reupholstery Completed!
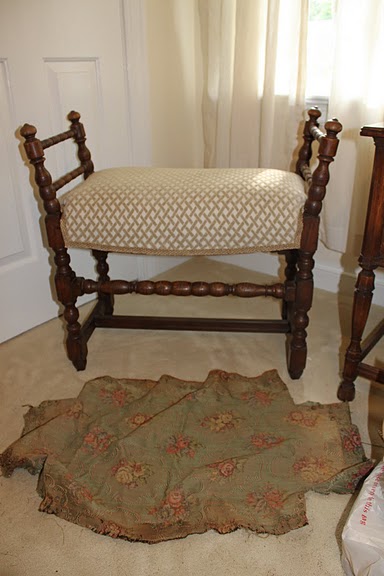
Here is the lovely, renewed vanity bench that goes with the vanity in my guest room. I love the turned wood handles that come up the side--I think that gives it such a unique shape. I can kind of imagine it in a medieval castle or something...

And here is what it looked like before, in our sad farmhouse. It needed a good shining up and new seat badly. I think the last person who upholstered it was my great-grandmother Hazel, probably in the 1950s. She used pretty nailhead trim, but I went the lazy girl's way with staples, trim and glue.

First I cut off the old seat and kept it for a template. I traced it onto brown paper.

Then I used the brown paper as a guide to cut out my new fabric--a pretty basketweave pattern tone-on-on tone with some stretch in it. I wanted my bench to be pretty cushy, so I made sure to keep about 3 extra inches all around to accomodate the new foam.

It had old upholstery straps on the bottom which were rotted away, so I threw them out an had my dad make me a new bottom with some plywood. Then I got a 4 inch piece of foam, cut it to size, and wrapped it with some quilt batting (crib mattress size).

I seem to be missing the picture of it done with the staples showing, but you can kind of see them in the photos below showing how I applied the trim. It was on sale at Hobby Lobby, and I got "about yea much" of it, figuring I could estimate how much I would need. HAH!
See the staples? First I cut out 4 small pieces to go around the curved corners and glued them on, turning the end under and gluing it with hot glue so there wouldn't be any frayed edges.

And here is what it looked like before, in our sad farmhouse. It needed a good shining up and new seat badly. I think the last person who upholstered it was my great-grandmother Hazel, probably in the 1950s. She used pretty nailhead trim, but I went the lazy girl's way with staples, trim and glue.

First I cut off the old seat and kept it for a template. I traced it onto brown paper.
Then I used the brown paper as a guide to cut out my new fabric--a pretty basketweave pattern tone-on-on tone with some stretch in it. I wanted my bench to be pretty cushy, so I made sure to keep about 3 extra inches all around to accomodate the new foam.
It had old upholstery straps on the bottom which were rotted away, so I threw them out an had my dad make me a new bottom with some plywood. Then I got a 4 inch piece of foam, cut it to size, and wrapped it with some quilt batting (crib mattress size).
I seem to be missing the picture of it done with the staples showing, but you can kind of see them in the photos below showing how I applied the trim. It was on sale at Hobby Lobby, and I got "about yea much" of it, figuring I could estimate how much I would need. HAH!
Then I again folded under the edge of the trim and matched it up at a right angle with the pieces draped over the corners.
AND HERE IS HOW MUCH TRIM I HAD LEFT OVER:

BOOYEAH! I must admit it would have made me feel a little bit better to have some more in case I messed up, but no harm no foul, right?
Here she is again, next to the old piece of upholstery. I removed. She is so happy that she is in a nice clean house and now our guests can use her to sit on to take on an off their shoes, or to apply their makeup at the vanity!
P.S. It really helps to have an extra hand when applying the trim with the glue gun. Thanks Anne!!
Friday, February 11, 2011
Organization: Under-Cabinet Wine Glass Racks
We have this funny little cubby in our kitchen cabinet that would be perfect for cookbooks or to an in-cabinet wine rack. HOWEVER, when we moved in, it became a dumping ground for all things that we didn't know what to do with. THEN it became wine glass storage. (Please don't ask about the moose on the fridge, k? k.) OH, BTW you can see our nasty old counter tops and ugly cabinet hardware LOUD and CLEAR here, right?

We picked up 3 of these under-counter stemware racks from Bed, Bath & Beyond for about $5.00 each...

Then I watched as my husband contorted himself into a pretzel in order to drill pilot holes...

Installed--you can't see them at all from standing!
Look how much extra storage we have now! The stemware is out of the way, we can use the counterspace, and our most-often-used cookbooks are at our fingertips rather than in the bookcase in the dining room.

Easy fix, I recommend it highly. This probably took us all of a half hour to install, and it was SO worth it!
We picked up 3 of these under-counter stemware racks from Bed, Bath & Beyond for about $5.00 each...
Then I watched as my husband contorted himself into a pretzel in order to drill pilot holes...
Installed--you can't see them at all from standing!
Easy fix, I recommend it highly. This probably took us all of a half hour to install, and it was SO worth it!
Thursday, February 3, 2011
Roman Shades
So there has been much in blogland about DIY roman blinds made from mini-blinds; Newlywed Diaries, Little Green Notebook, and Craftzine all have great tutorials. I think that is a fabulous idea, and fully intend to try it, but sometimes you've gotta work with what you've got. Which is not mini blinds.
When we moved into the house, the previous owners left the window treatments. Unfortunately the kitchen and dining room were both country/burgandy themed, and as a BRIGHTS person, I just couldn't deal for more than a moment or two with the unbleached-and-burgandy gingham roman blinds in my kitchen breakfast nook.
The kitchen desperately needed something to shield us from the neighbors and insulate our single-paned windows, so just taking them down wasn't an option. After noticing that the gingham blinds looked like they were homemade, I decided to dismantle them and use them as a pattern for my own.
I found some tablecloths, placemats, and napkins I really liked at Marshall's, and bought enough of the table clothes to make 4 roman blinds.
***ASIDE: I know, I know, I LOVE matchy sometimes, but I just can't help it! I blame mom for the Kelly's Kids clothes she forced me into at a young age: no matter how much I hated it, apparently it made some impression on my developing grey matter!***
Well I layed them out in the dining room and cut the tableclothes slightly larger than the blinds. Then I realized that I would probably need some kind of backing fabric, so I cut an old sheet to use as my backing and sewed it to the tablecloth fabric. Then I realized I probably didn't even need to take the existing blinds apart as I had planned--I just folded over the raw edges and sewed the backed tablecloth fabric AROUND the fugly gingham! I then ran my machine down the center of the blinds a couple of times so that the fabric wouldn't bunch up when the cord was pulled and VOILA! Brand new custom blinds!
I think they go swimmingly with my yellow Kate Spade discontinued pattern, don't you?? It just makes me so happy to be in this space...I try to keep the table set so that Brett and I don't use it for a mail dumping station, etc.
The kitchen and the family room are the most often used rooms in our house, so I am really really happy to have them both made over to our specifications.
There are more big plans for our kitchen coming up soon, so stay tuned...
Subscribe to:
Posts (Atom)