Showing posts with label Interior Design/ Home Decor. Show all posts

Tuesday, November 8, 2011

Interior Sliding Barn Doors

via Barbara Bestor

My mom is redoing our family's midcentury farmhouse, and she wants to use sliding barn door hardware to cover two large glass doors in the den. So this collection is for you, Mom!


These feel Japanese to me, like they belong in a tea house or sauna.

via Sunset


This one is actually made with reclaimed wine barrels! Check out Cliff Spencer's website for his other beautiful doors.


Pretty reclaimed boards are the focus here with the natural tones and white decor:

via Design Sponge

Love this black and white one. Especially since the black doors are distressed and textural.


This black, ultra shiny one is super modern:


Bright yellow with a classic shape and design:

Your Home Only Better via Southern Living


Very classic, industrial farmhouse chic:


Your Home Only Better via HouseBeautiful


This one is kind of eclectic, like a crazy quilt!


I don't love the blue in this one, but I like Killer B's tutorial and it looks super easy to make with 1x2's from your local home improvement store:


I loooove this patterned door in the kelly green color with the exposed beams:


Kelly and Olive via bradfordavenue.com


I think this one is my favorite. It is painted yellow, I believe, but I like the natural ochre effect with the dark hardware.

Wednesday, October 12, 2011

Browsing at These Four Walls

Brett and I were in Shockoe Bottom the other day (for you non-Richmonders, downtown at the bottom of the hill near the river), and we decided to stop in this amazing store called These Four Walls.


Their website describes the locally-owned store as "an eclectic assortment of hand-selected furniture, accessories, and gifts from around the world. We focus on handmade, one-of-kind finds that we'd be proud to have in our own home." They weren't kidding. B and I LOVED it! It was definitely out of our price range without some major planning, but the things they had were so unique and wonderful we couldn't resist taking some phone photos and sharing this local gem with you.


This table and chair set was the first thing that caught my eye. We have a similar rough looking farmhouse style table in our dining room, but I don't love our chairs. (Of course our dining room table is not an environmentally friendly salvaged wood plank, but it is old and repurposed so I consider that environmentally friendly.) I thought these were the Ghost chairs, but apparently they are made of recycled bottles!! I am on the lookout for new chairs for our dining room and these had me at hello.


Sorry about the quality of this photo. This is my husband next to a gigantic sheet metal moose. They also had a brontosaurus or giraffe or something. Hilarious. Not Beyonce, but still fab! More fab, I would venture.


I loved this painting of a mossy tree that almost heads into the realm of abstraction. I have a solo show coming up in about a year, and I hope to paint some willow branches and bark paintings with a similar effect. Inspiring!


This coffee table on wheels is made of a salvaged bowling alley. So shiny. So pretty. And you don't even have to change your shoes to enjoy it. Nuff said.


And last but not least, I LOVED this white feather Christmas tree. Enough that I might go back for it!


Long story short, this is going to be one of our go-to places for when we decide to make an investment in a peice of furniture the next time. If you come to Richmond, I would LOVE to take you there for some window shopping!


Tuesday, September 13, 2011

Thrifted lamp/table hybrid rescue

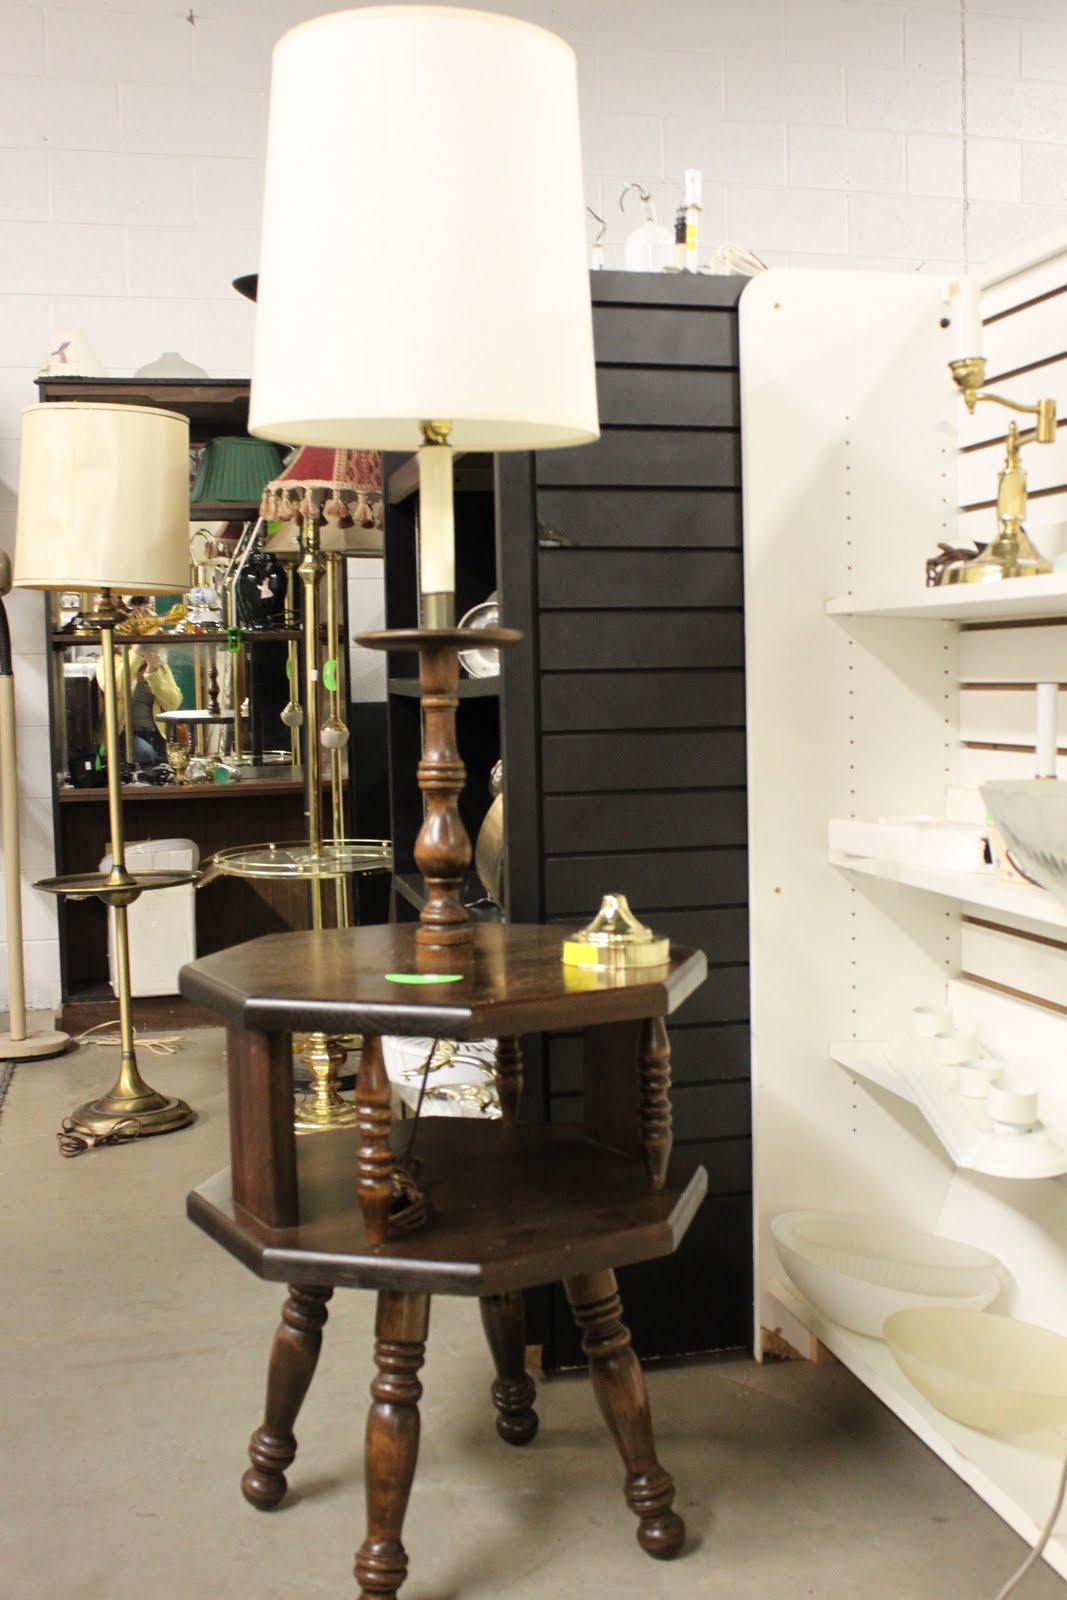
This is the before photo of this weird little table/lamp hybrid that I adopted from my favorite aforementioned thrift store, For the Love of Jesus. It was just so weird that I couldn't leave it there. And it was $5. Kid of cute/ugly like a troll doll, don't you think?? Just begging for a makeover a la Brittany Murphy in Clueless.


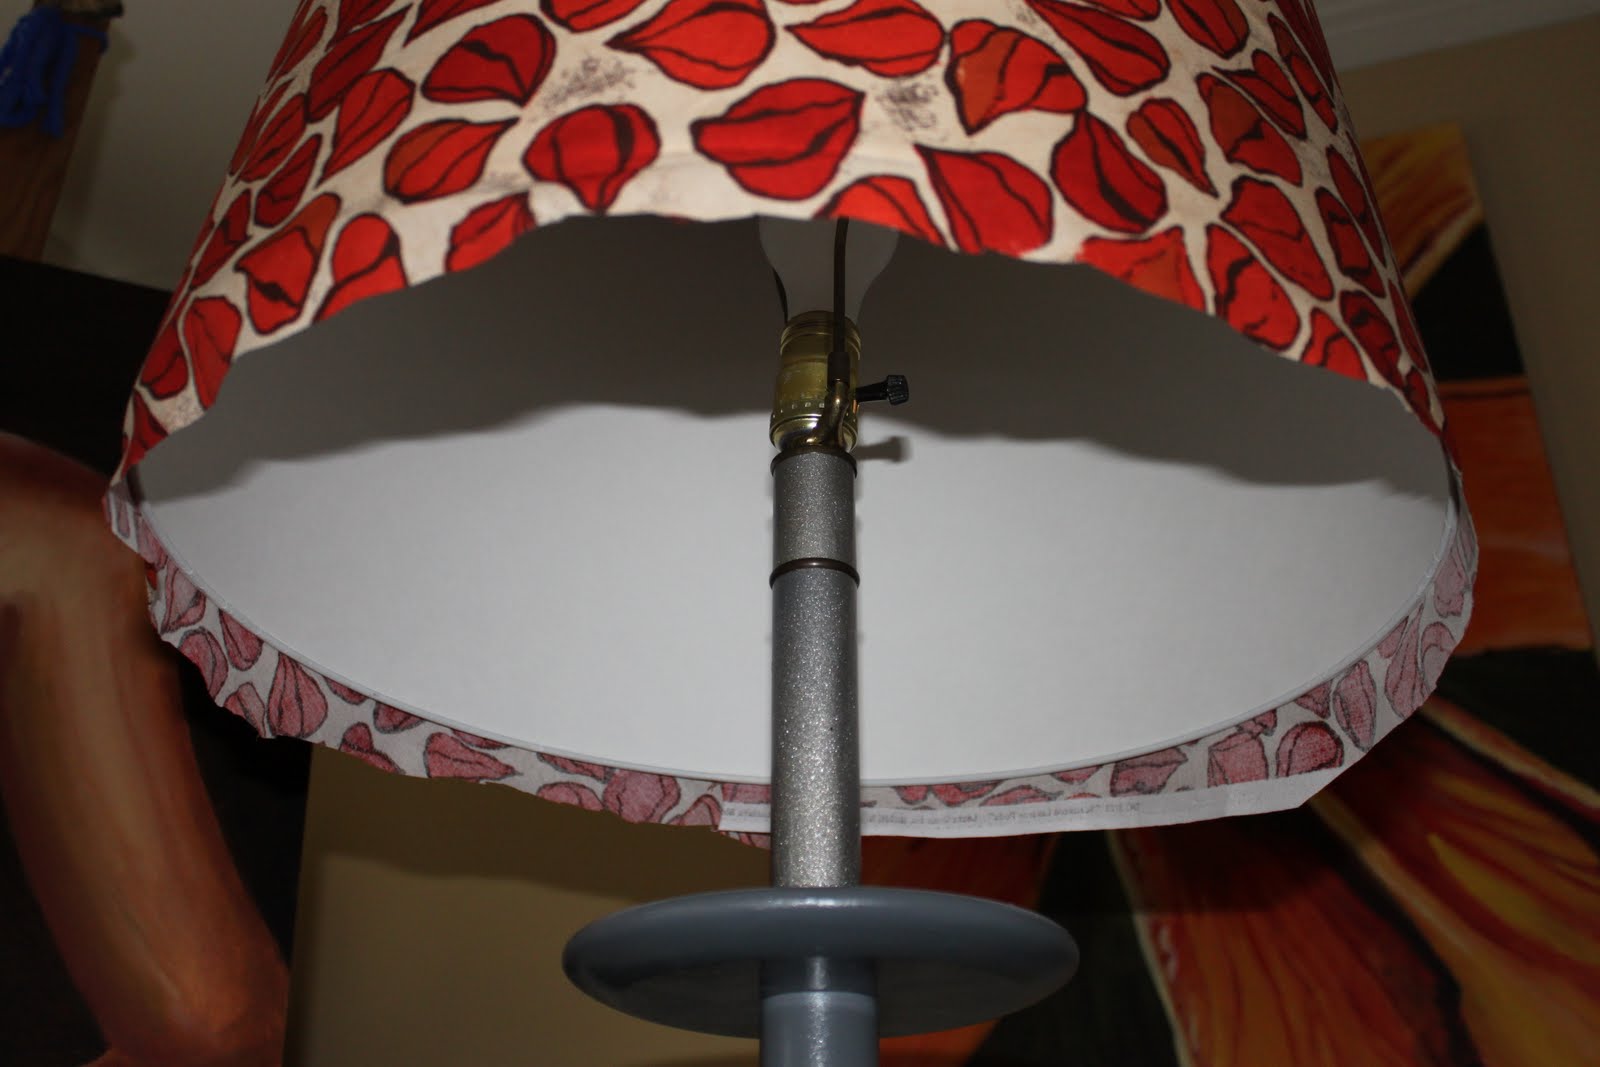
Took it apart, sanded it to get the dents out and primed the hell out of it. It looked kind of pretty white, but I wanted a more midcentury vibe than shabby chic, so I went with a gray tone and put a very shiny clear top coat on. I also thought about yellow, with a gray shade, but they ran out of the pretty gray fabric I liked so I went with gray base and colorful shade.


The shade it came with was just the wrong size and shape so I picked up a pretty new one at the Decorating Outlet (outlet store for Shades of Light) that had a little dent in it. And I picked up this fabric I have loved forever. It has a beautiful chinese lantern plant pattern on it that was NOT linear since the shade I picked had a slight flare rather than a straight drum.


Here is the shade covering in progress. I used spray adhesive to get it on flat and then used Tacky glue to curl under the edges with a meeeelion clothespins to hold it in place while it dried.


Voila! I think it is an improvement, and the poor little thing has a quirky new lease on life!


Still don't know where it is going to go or what exactly I am going to do with it, but I think its really full of funky midcentury charm!


Monday, August 29, 2011

Hanging Plate Wall

You may remember this post I did a while ago for my friend Meghan who wanted to do a hanging plate wall in her dining room. Well we finally did it!

First we went in search of an instant plate collection: enter Love of Jesus Thrift Store. Its really the largest thrift store in the area, especially if you want home goods or furniture. Plus it has an awesome name!

Meghan's wall is a really intense color, so we decided on a collection of white plates in different textures, shapes, and designs. Below you can see the ridiculous amount of plates to choose from. (btw you can also have an instant collection of brass candlesticks, baskets, bells, and other randomness if you so desire.)


Here is a smiling Meghan with some of her bounty:


Then we went back to her place and traced the plates onto paper so we could see how the various sizes and shapes would look together on the wall without making a million holes in her honest-to-god real plaster walls. This is just one of the design ideas we played with.


She ended up going with a more traditional and symmetrical pattern, but it still has tons of visual interest thanks to the variety of plates. It also really brings out the bright white trim around the room.


I think it looks really fabulous! Thanks for letting me play at your house Meghan!! (On another note we are soon to start a baby mural for her baby due in October!)

Thursday, August 25, 2011

DIY Drum Lamp Diffuser


We didn't have an overhead light in our guest room, which made it really dark. We don't have a way to hard wire it to the ceiling because the air conditioning vent is smack-dab in the middle of the room. My solution was to get a lamp kit and hang it from the ceiling, run the wire across the ceiling and down the wall and plug it in. Then I got a cute drum lamp shade to hang on it. You can find something similar here. The kit had a screw top that allowed me to just screw the drum pendant in and voila! The only problem was that when you were on the guest bed, you could see straight up the middle of the drum shade into the blinding light.

I forgot to take a picture of it before I took it down, so this picture is actually from Young House love, because we happened to have the same shade from the Shades of Light outlet store here in Richmond. This is more or less what you saw from my guest bed, except mine is not hard wired but hanging from the ceiling on a hook.


I didn't want to spend the money on the diffuser, so I decided to make my own, a la Young House Love's tutorial!


I found an old sheet that had a rip in in, and draped it over the drum shade, cutting around the edges until I had a circle slightly larger than the shade.


Here it is cut out and draped before I ironed it out to make it nice and smooth.


Then I removed the banding from around the shade on the bottom. It pulled right off like a charm!


Then I ran a bead of craft glue all along the bottom edge where the hommade diffuser would go:


I smoothed out the large circle and then flopped the drum pendant over so that the bottom edge with the glue on it was touching the fabric and waited for it to dry.

In case you can't tell, this is a shot of the inside of the bottom of the shade with the bead of glue showing.


Once it dried, I flipped it back over (yes, it stuck a little bit to the table, oops), and trimmed the edges very close to the shade, with about 1/4 inch overhang.

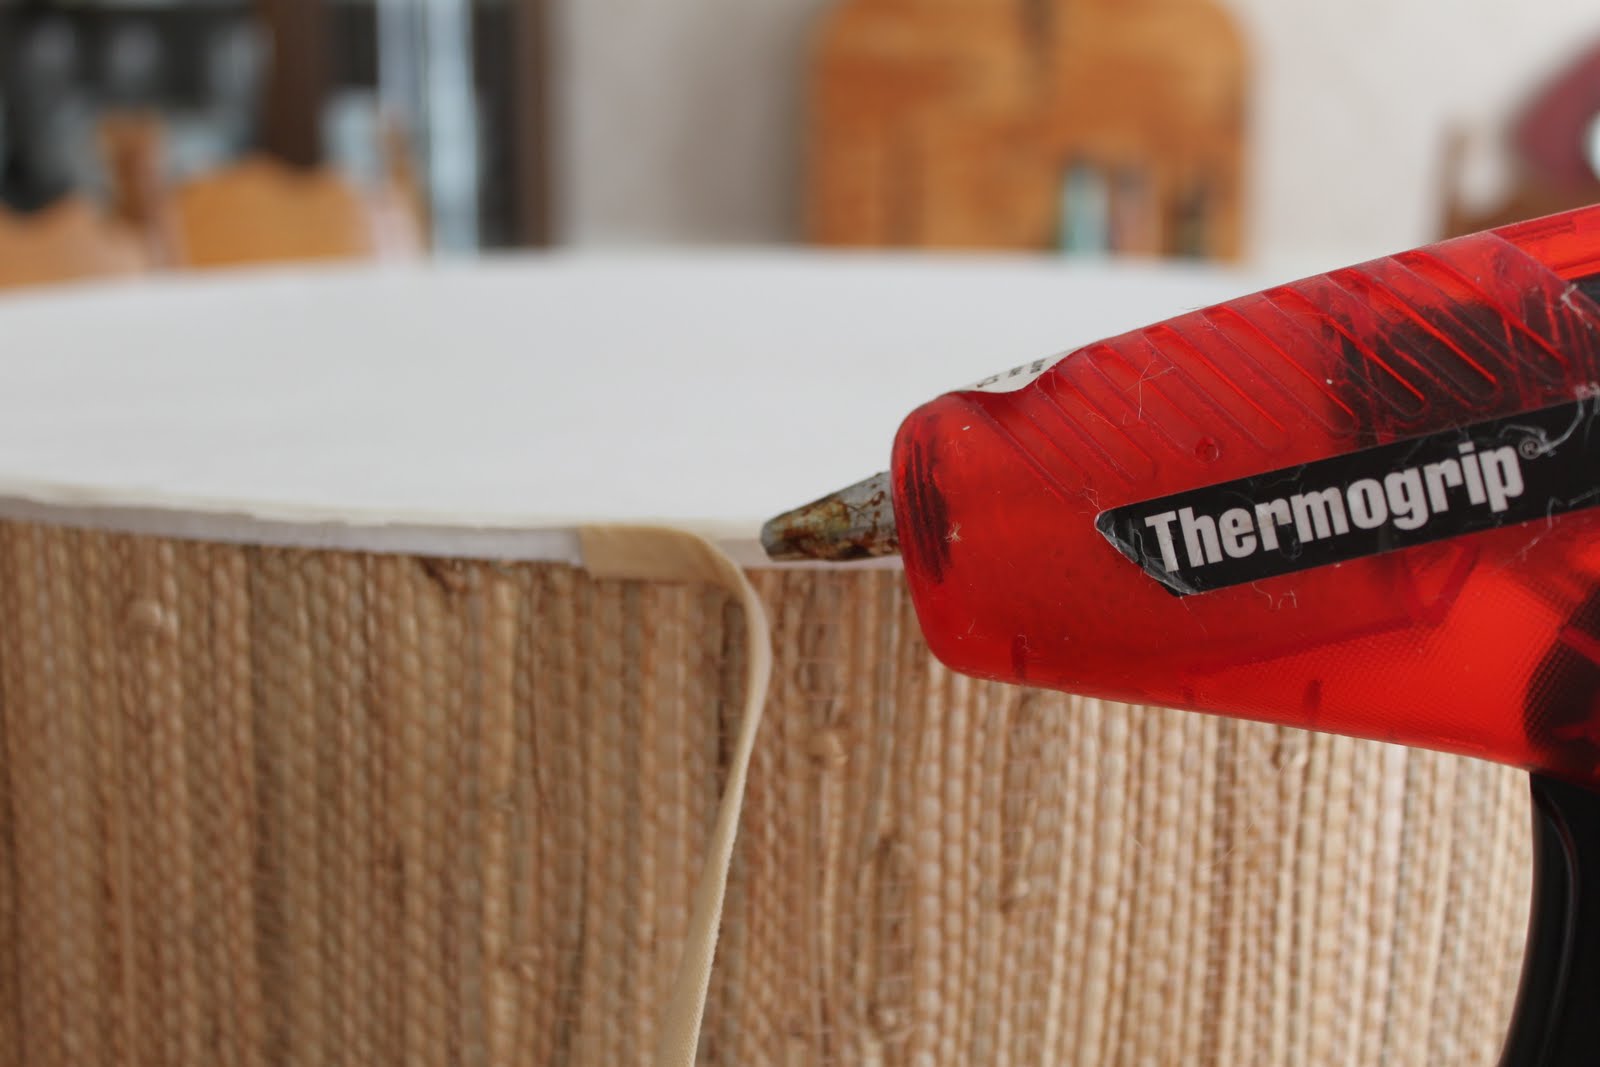
Then I reapplied the edge banding to cover the jagged edges of the sheet and make it look nice and neat. I used hot glue for this one. And burned my fingers about a million times until my friend Anne offered to take the gun off my hands while I worked the edges of the sheet under the banding.


Here it is all hung up on the ceiling again, and our guests will no longer be blinded as they read before bed! I know the cord looks kind of crappy going along the ceiling, but you can see in this picture how putting in a box for a hardwired lamp would be tricky in this room because of the way the HVAC is situated. We are going to pain the walls and then hopefully the cord cover will blend in at least on the wall behind the bed.


So the guest room is still a work in progress, but I thought I would share this little project. :-) Since that picture was taken, we have rearranged quite a bit between switching out the beds and moving all the books in the house. Maybe one day it will be all done and I can do a beauty shot!

Thanks to Sherry and John for the great idea!


Monday, August 22, 2011

Operation Bookshelf Complete!

As I mentioned previously, we really needed bookshelves to corral all of the crazy books all over our house. We went back and forth over building them ourselves from premade cabinets, building them from a plan from Knock off Wood, buying unfinished ones from the Unfinished Furniture Mart, or going to Ikea. Then once we decided on Ikea it was another whole story to try to figure out which shelves we wanted. Billy is very popular and the cheapest, but didn't really fit our needs. We loved Liatorp, but it was too expensive. We eventually decided on Hemnes, and got 5 units--three without doors and two with glass doors. The measurements fit almost exactly all the way across the wall in the living room.

So off to Ikea we went...


Here is the Element in our driveway, showing the amazing flat packaging skills of the Ikea folks. Yes we fit 5 bookshelves into our car!


Here is refresher of the wall the shelves were destined for. The formal living room in our house has been kind of a repository for hand-me-down furniture, art, books, yard sale organizing, whatever--but it is a beautiful room with crown molding and we wanted to turn it into a library.


So Brett and I unloaded the Element and started a kind of assembly line. I am not in any of these pictures, but it was my job to take the shelves out the box, assemble the frame and legs, pass it onto brett and start over with the next one. It was Brett's job to nail on the back, sit the unit upright, position it on the wall and secure it to a stud.


Here is another in-progress shot from the other angle.


After several hours, we had all 5 units assembled and then it was time to put on the doors. We decided to rotate "no doors" with "doors" across the wall for a balanced and symmetrical look that had some visual interest.


We are eventually going to frost the bottom half of the doors so that we can put no-so-pretty things in them like extra serving platters, and then use the top of those to display items and art so that we won't have to dust them.


Here is the finished product! You can literally see that the light was fading by the time we were done...it was surprisingly exhausting! We are so happy with the finished product because it gives us the storage we need and brings out the white crown molding in the room nicely.


So far we have collected all of those random books from around the house and dumped them in just to get them out of the way, but we haven't organized or arranged anything. It is sooo great to have them all in one place and to be able to get some of those shelves out of the way. Like the one in the dining room where the space could be much better used by a console or wine rack!


Has anyone else gotten wall-to-wall bookshelves?? Or are we the only bibliophiles around who can't seem to let go??


Sunday, August 21, 2011

Why We Needed Bookshelves

So we finally went ahead with the planned wall-to-wall bookshelf project! But before I unveil the results, I want to show you WHY it was so necessary. This is embarassing. Please don't call the producers of Hoarders...

We had books in the guest room next to the bed,


and in the guest room against another wall,


and in the art room (I couldn't even really get to these!),


and in the office,


and next to our bed,

and on the landing at the top of the stairs,

and in the dining room,


and next to the tv in the den,


and finally in the living room!
The living room is now the home of ALL the books, which is super useful when someone says "Charlotte, can I borrow that one book about that one thing that you keep raving about?" because I no longer have to scrounge around the whole house and run up and down the stairs to find said book.


whew.


please don't call Hoarders...